Well those of you that know me , know that if I see something and I "think" I can do it , I will or at least attempt it. I saw this card yesterday on Splitcoaststampers under the "search" for graduation cards. I had to try it. Her card was located on pg. 20 and its an "explosion card" . She has a blog site called allycatcards.com.blogspot.com
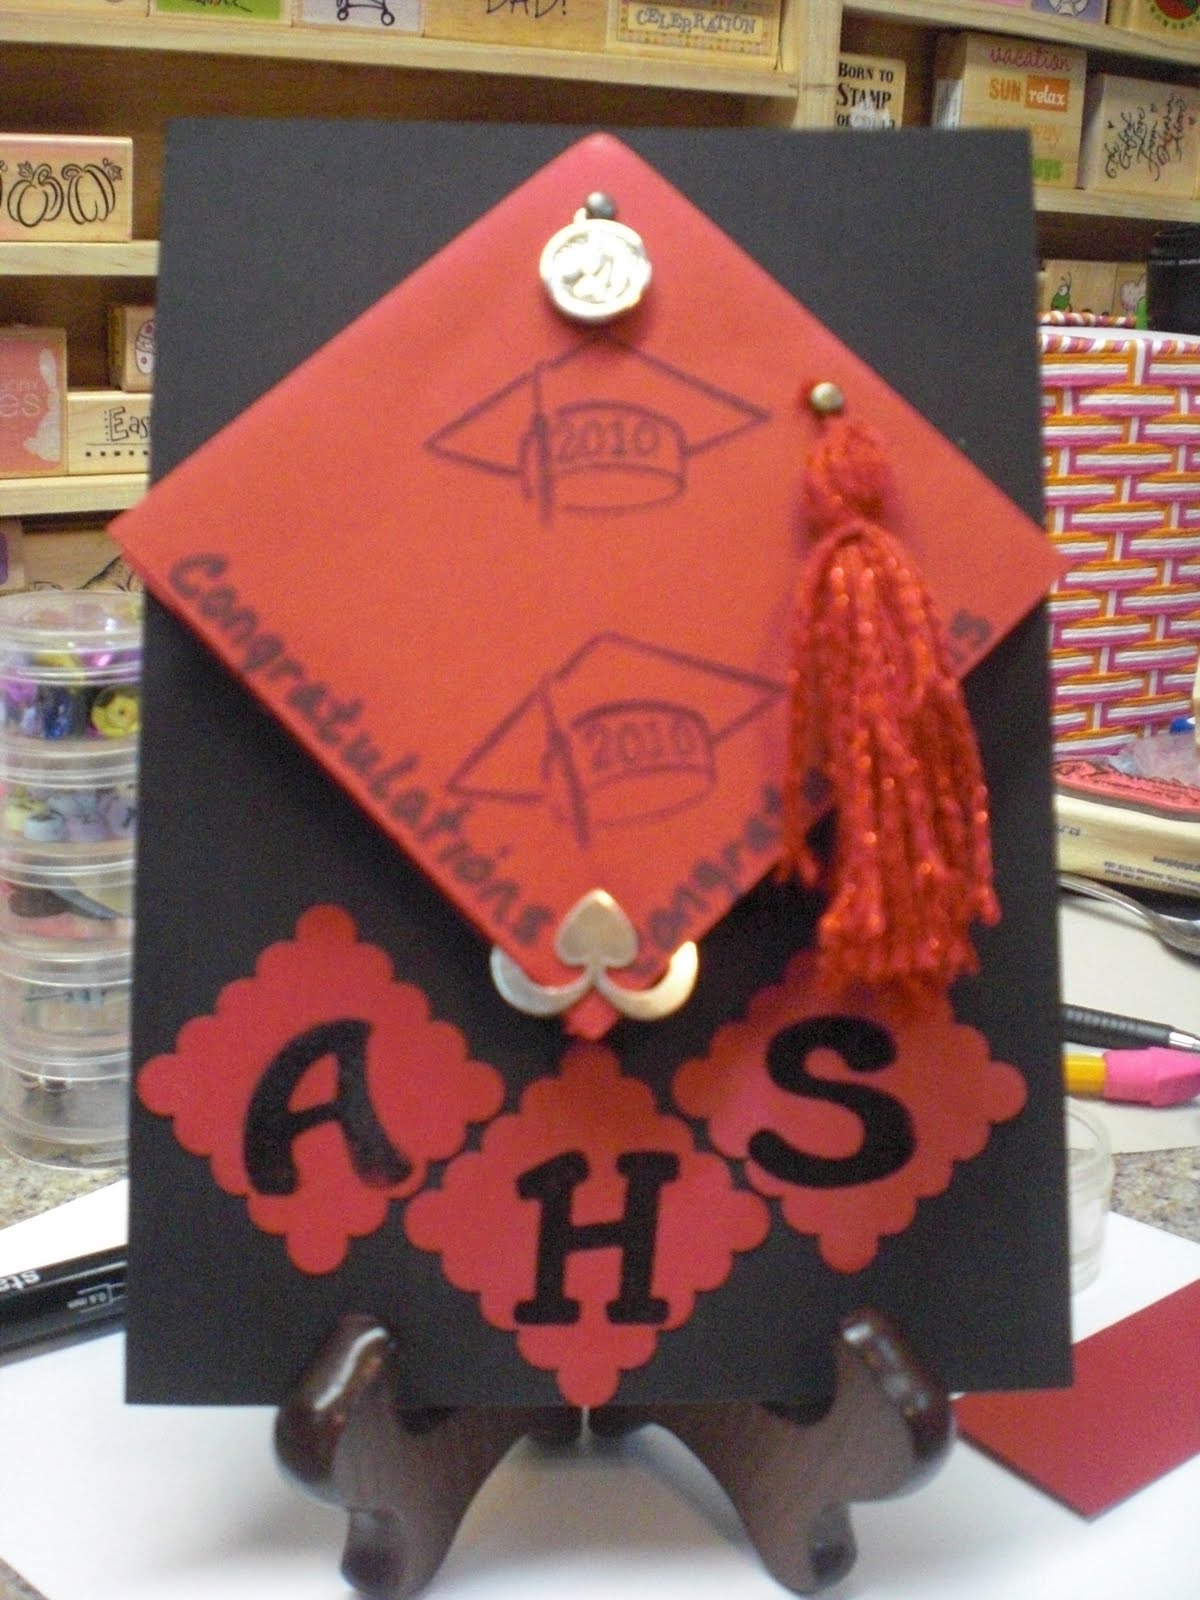
I wanted to give her credit for the idea. I found the secret to the explosion card is that the cap has to be a perfect square to start. You take the square and fold it in half point to point and press seam. Then open the square and fold the opposite corners point to point and press seam and now the tricky part for me was you open the squard again and you fold it in half side to side , press and then open the square. Now you take two points and pull them together to the inside and then press the two sided together and it forms a square. Beleive it or not I had no instructions and mine came together by accident because I just had the picture to look at. I then used a top fold card and attached the cap to the card near the top by gluing the back part of the square to the card . I used double sided tape for this . The colors for the school are red and black (like you couldn't tell) and I opened the card and put the reciepients name inside and them spelling out her name on each panel I used the letters for certain meanings . Ex> Tracy= T true to the end. R reliable at all times. A always there C capable of anything she puts her mind to, Y yesterday is gone and the future is yours to create. Put your own version or just put photos or nothing at all. On the top of the had at the top point I added a charm of the school mascot ( a mustang) and stamped graduation caps and wrote the year. The initials of the school are stamped and embossed on scalloped squares and I used a clip heart to hold the explosion card closed. Inside on the front cover side I put the school almata and on the right I used two pieces of card stock, one red , one white and stamped two different greetings. There are so many ways to use this explosion card and I had fun creating this one.


 These 3 cards were my Sunday morning project. I wanted to make some cards to bring to my office or to mail to my friends. Haven't deceided which. Well I did the pik card first . I happened to have this card stock and this page from a book of designed paper. I remembered the pattern stamp set from Stampin up ( a friend got this set from me as a gift.) and I thought I would use only 1 of the women in the picture. I stamped her and cut it out. I then stamped it again on green paper dotted with pink dots. I cut out just the dress and placed it over the print I did before. From the designed paper I cut the three flower squares and glued them in step like arrangements . I then cut out the flower pot and using the little demintion dots I put three dots under the picture and attached it to the card over one of the steps. I like the butterfly so I cut it out and then put three little demintion dots on the body of the butterfly and glued him over the flower pot. I stamped the words mother and day on Whisper white card stock and cut them out with the plain oval punch. Then I cut the scalloped ovals from the green pink dotted paper. I used demintions and put the wording on the scalloped pieces . I used a edge punch along the fron of the card, top and side and punched this little decoration. The second card has the deer scene and the tree. I had this card stock with this pretty green and blue stripping and thought it would make a good card for a man. I especially wanted to use the deer scene and got the set out and used the deer scene and the tree. I think I made a mistale coloring in the pictures. It was prettier just stamped in brown . Well done is done and I cut out the backing piece in dark brown and attached the pictures with light brown brads. I had the staw like ribbon and tied it around the card itself. It still looks good. The third is the old car another favorite of mine. I had the bluish green textured card stock and measured and cut the card to fit the available envelope I had. Then I layered the card with dark brown again and the bluish green. Using whisper white card stock I stamped the old car and painted it with stampin up pens. I saw this old truck down my street that was all rusty and surrounded by blue flowers and I loved the colors together so thats why I used the colors I did. I also put the wording at the top in strong block form. I used screw looking brads to attach the cards together. I had seen them used on other cards and thought well working on cars always has a bunch of screws left over. Ok .... well I think the screw are cute . I then added a brown bow and two little birds from another stamp set. Wala' the card is finished. I could work on cards all day and all night but alas I have transcription work that must get done by tonight so that it is for today.







 Posts
Posts